RENTAL HOUSE: XAVIER'S NEUTRAL BUNK ROOM REVEAL!

ONE ROOM IS FINALLY DONE and that means it’s time for a room reveal! No surprise that the first completed space is a kids room, because let’s be honest, designing children’s rooms are the most fun of all.

Welcome to our rental home…and my sweet boy, Xavier’s bunk room! This Oeuf bunk bed has been on my list of favourites for what feels like forever and it was the very first piece purchased for his room. There are so many arguments for and against bunk beds, but having had one as a child, I only have the best of memories. Needless to say, the bunk bed made the transition from his old room to this one a dream! He truly loves it just as much as I do.

neutral boy room with oeuf bunk bed

SHOP THE ROOM…

While I wanted this space to feel playful (Xavier plays in his top bunk ALL.THE.TIME), I really feel that for my own kids’ rooms I like them to also feel calm and restful (cue for more sleep please!). With Xavier in Grade 1 this year, it made sense to give him a little desk where he could do quiet activities or a spot to sit and draw.

The wallpaper is by Livette’s Wallpaper and is a removable paper of better quality than any other removable wallpaper I’ve used or seen. It has the best texture, almost like a nice piece of fabric. It is also created using non-toxic materials and inks while also being waterproof and washable! What’s not to love about all of that?! This is the linen colour and pattern is ‘Brushstroke Watercolour’ and I highly, HIGHLY recommend it. Just order a sample and you’ll see what I mean with the quality!

house shaped chalkboard in kids room

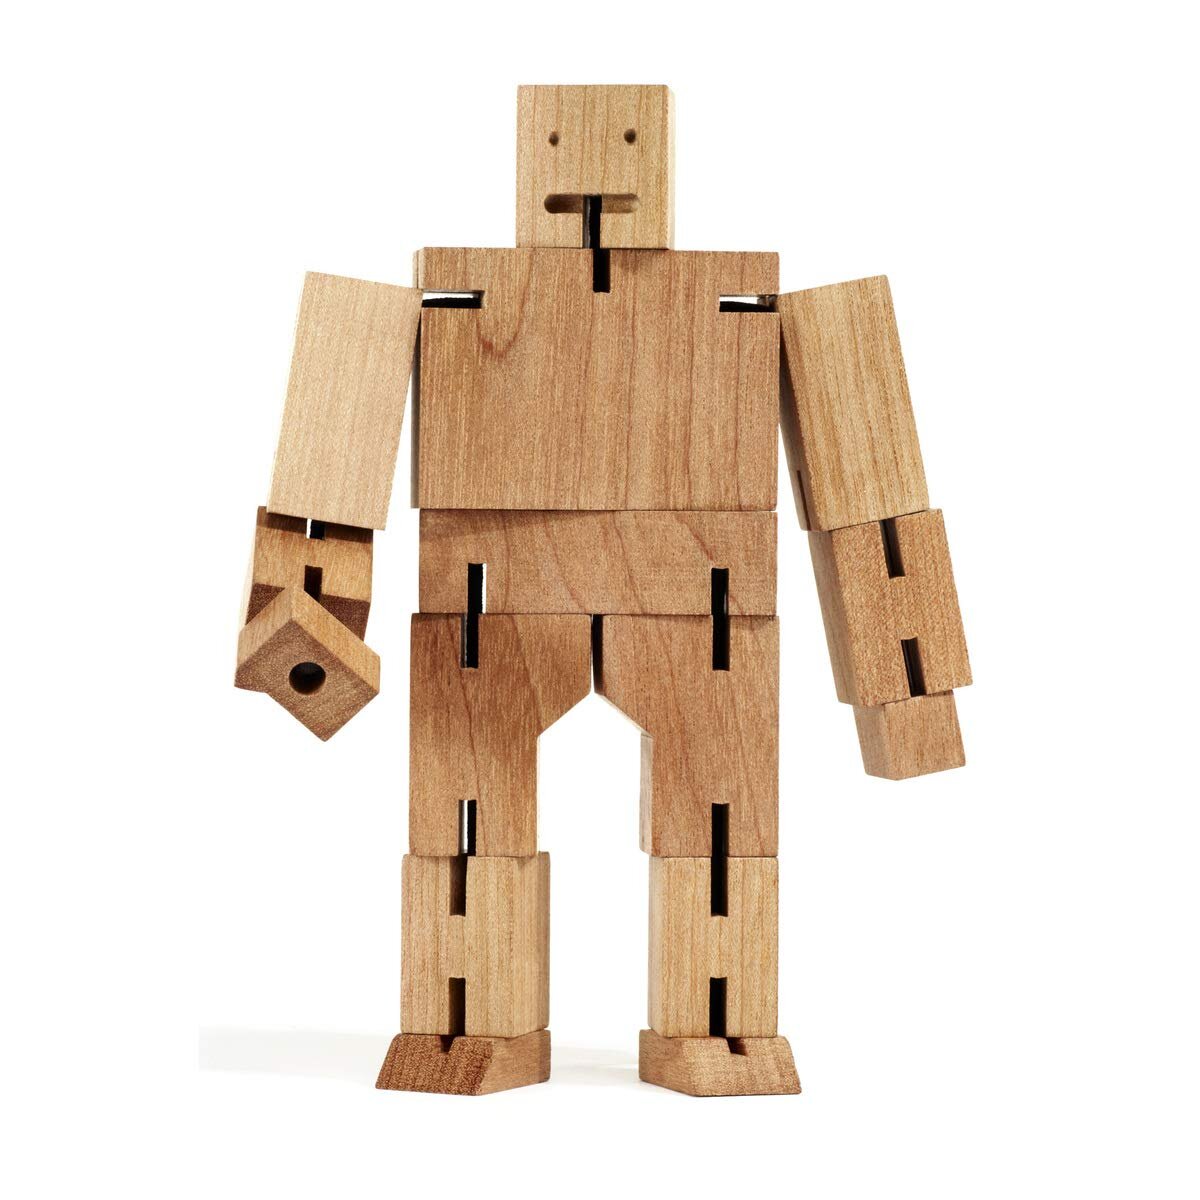
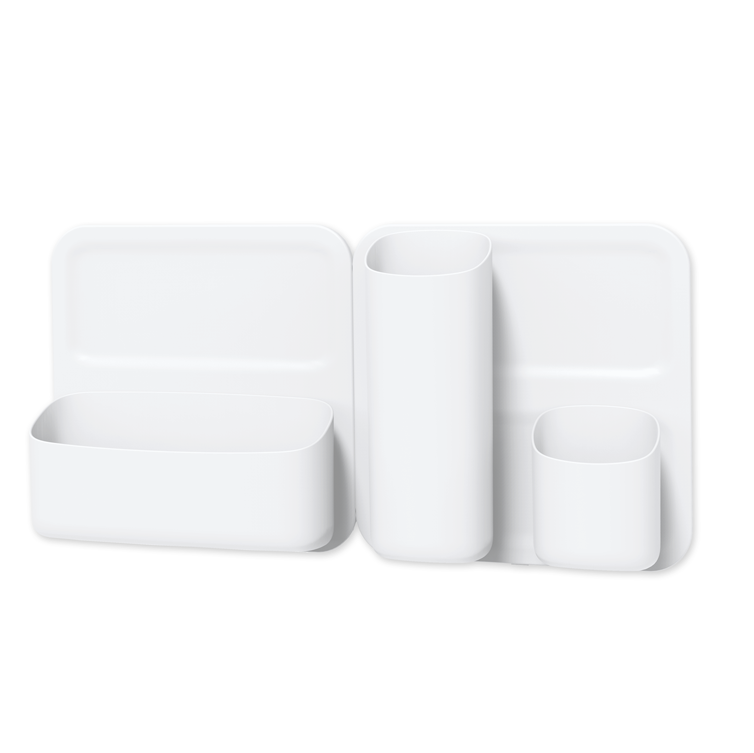
The house shaped chalk board is super cute and Xavier drew this amazing robot himself! The desk is from IKEA and stools are these wooden stools from the play table we used with our children’s playhouse a few years ago. They are now painted white. We love how versatile the magnetic wall sorter (on the left wall above) is and Xavier loves to change up what he keeps in here regularly.

gallery wall above wood dresser
calendar blocks with maileg mice in children’s room

“I love using practical items like this calendar block to teach little ones every day concepts such as the days and months of the year.”

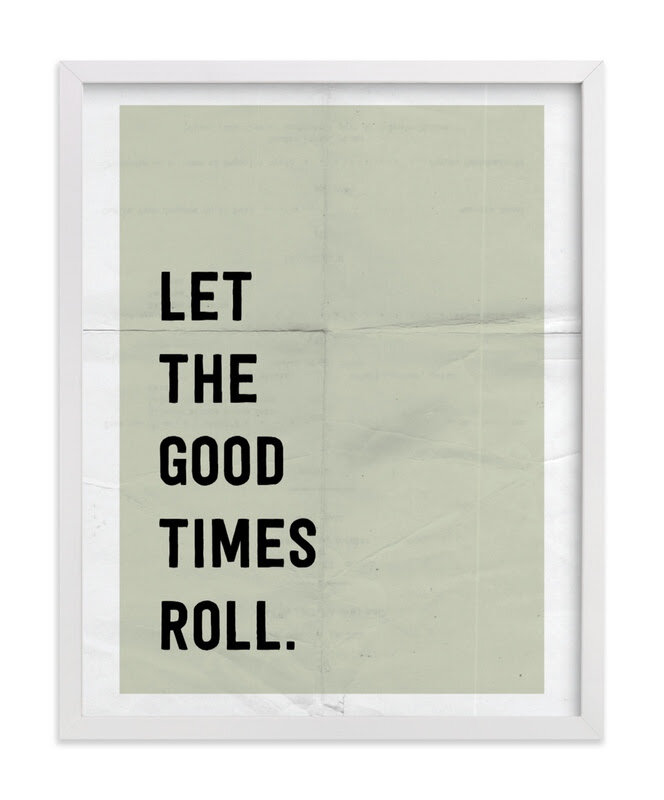
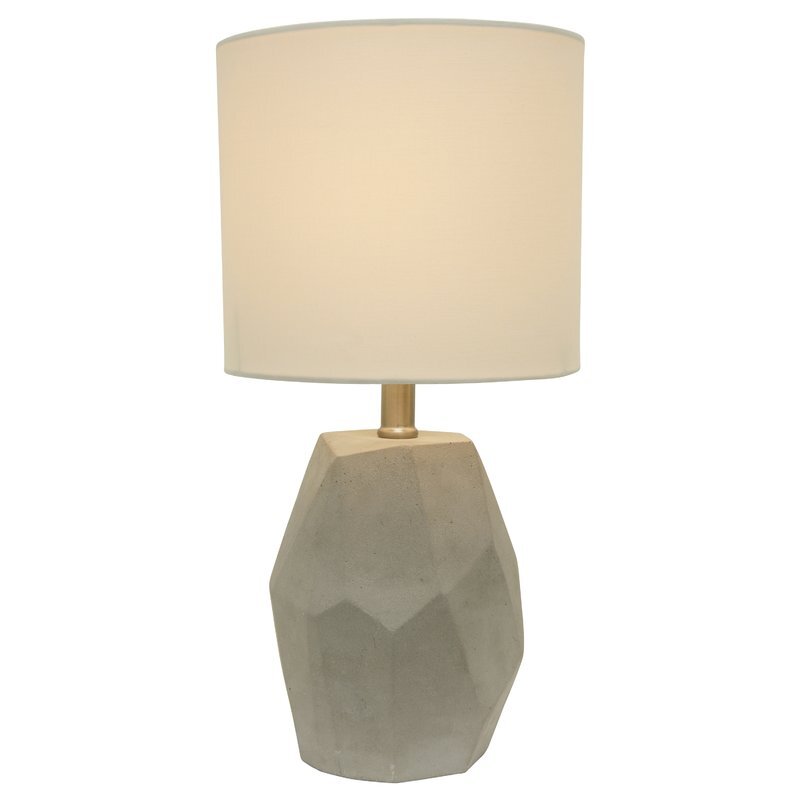
I knew we wanted a good size dresser and one that could last from now until his teen years (if not first apartment!) and this solid dresser is well built and holds a lot. I was trying to decide between a mirror or art and since there wasn’t a lot of space on the other walls for art, it made sense to put a little gallery wall above the dresser for fun here. The sweet sun print is by Emzi Art Shop, the robot print can be found here and the ‘Let the Good Times Roll’ print is from Minted. We decided to put a nightlight bulb in the concrete lamp on the dresser to use for night time but when Xavier gets a little older, we will likely put a wall sconce on the wall next to his bed. So far this solution has worked well so that when it’s time for lights out, he doesn’t just flick the light back on again.

SHOP THE LOOK…

One thing that has added so much softness (and blocks out nearly all the outdoor light!) is the roman shade from Tonic Living. This shade was custom made for the space and is a snug fit on a very basic window. I decided on an inside mount but could have just as easily gone for an outside mount on this wall too. It adds so much softness to the room and the colour (Tuscany Linen, Oatmeal Slub) is the perfect neutral.

oeuf dresser with gallery wall in boys room

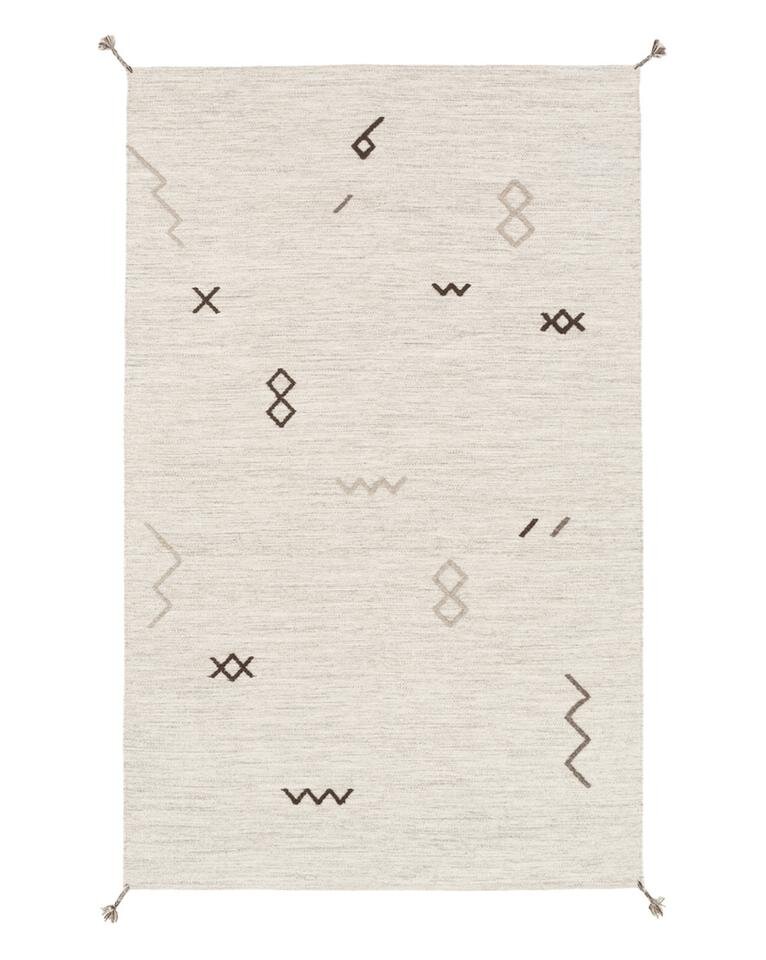
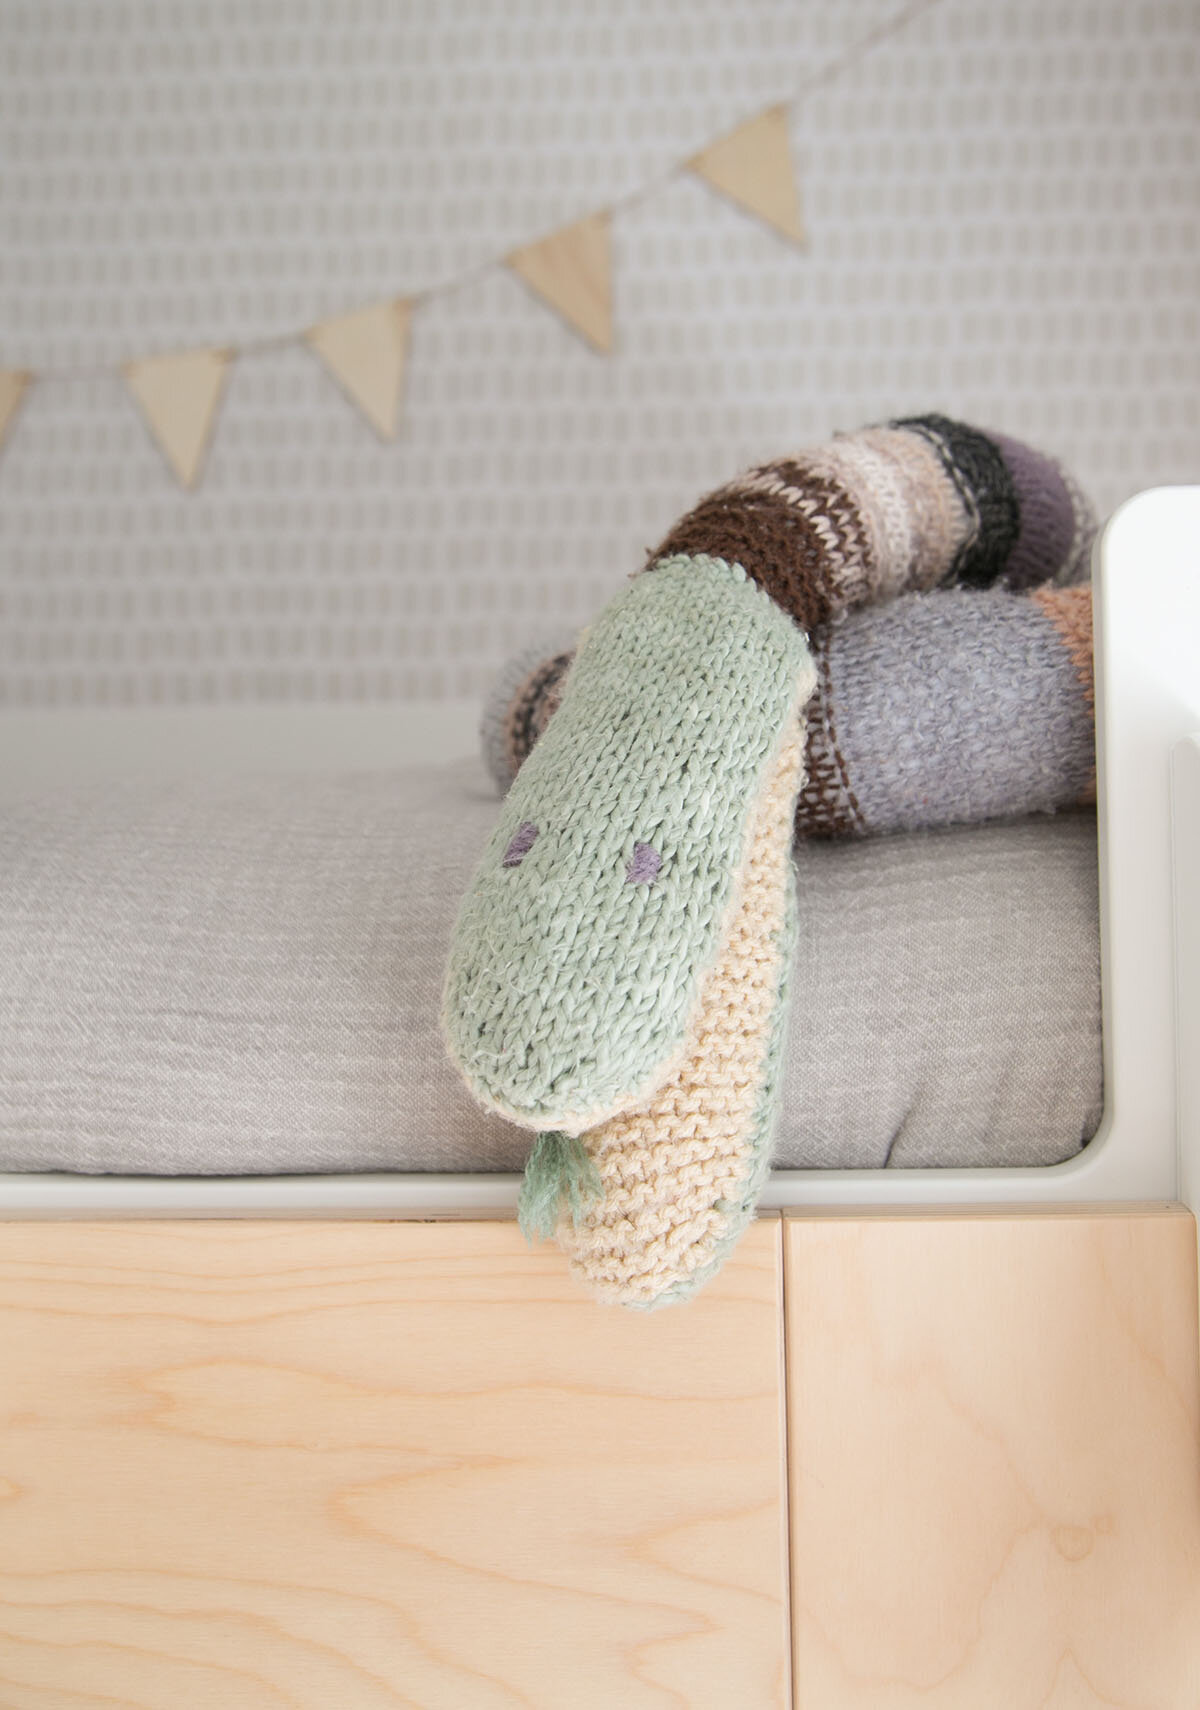
You know how much I love a good book wall and this area with the acrylic shelves creates a pretty cool vignette where you can rotate books just like art. The rug adds a cozy place on the floor to play and is soft underfoot for a wool rug. The knitted snake was handmade by Nana and is a firm fave that we treasure.

acrylic bookshelves in boy room
natti natti floor pillow with book
hand knit snake toy
gallery wall above dresser in children’s room

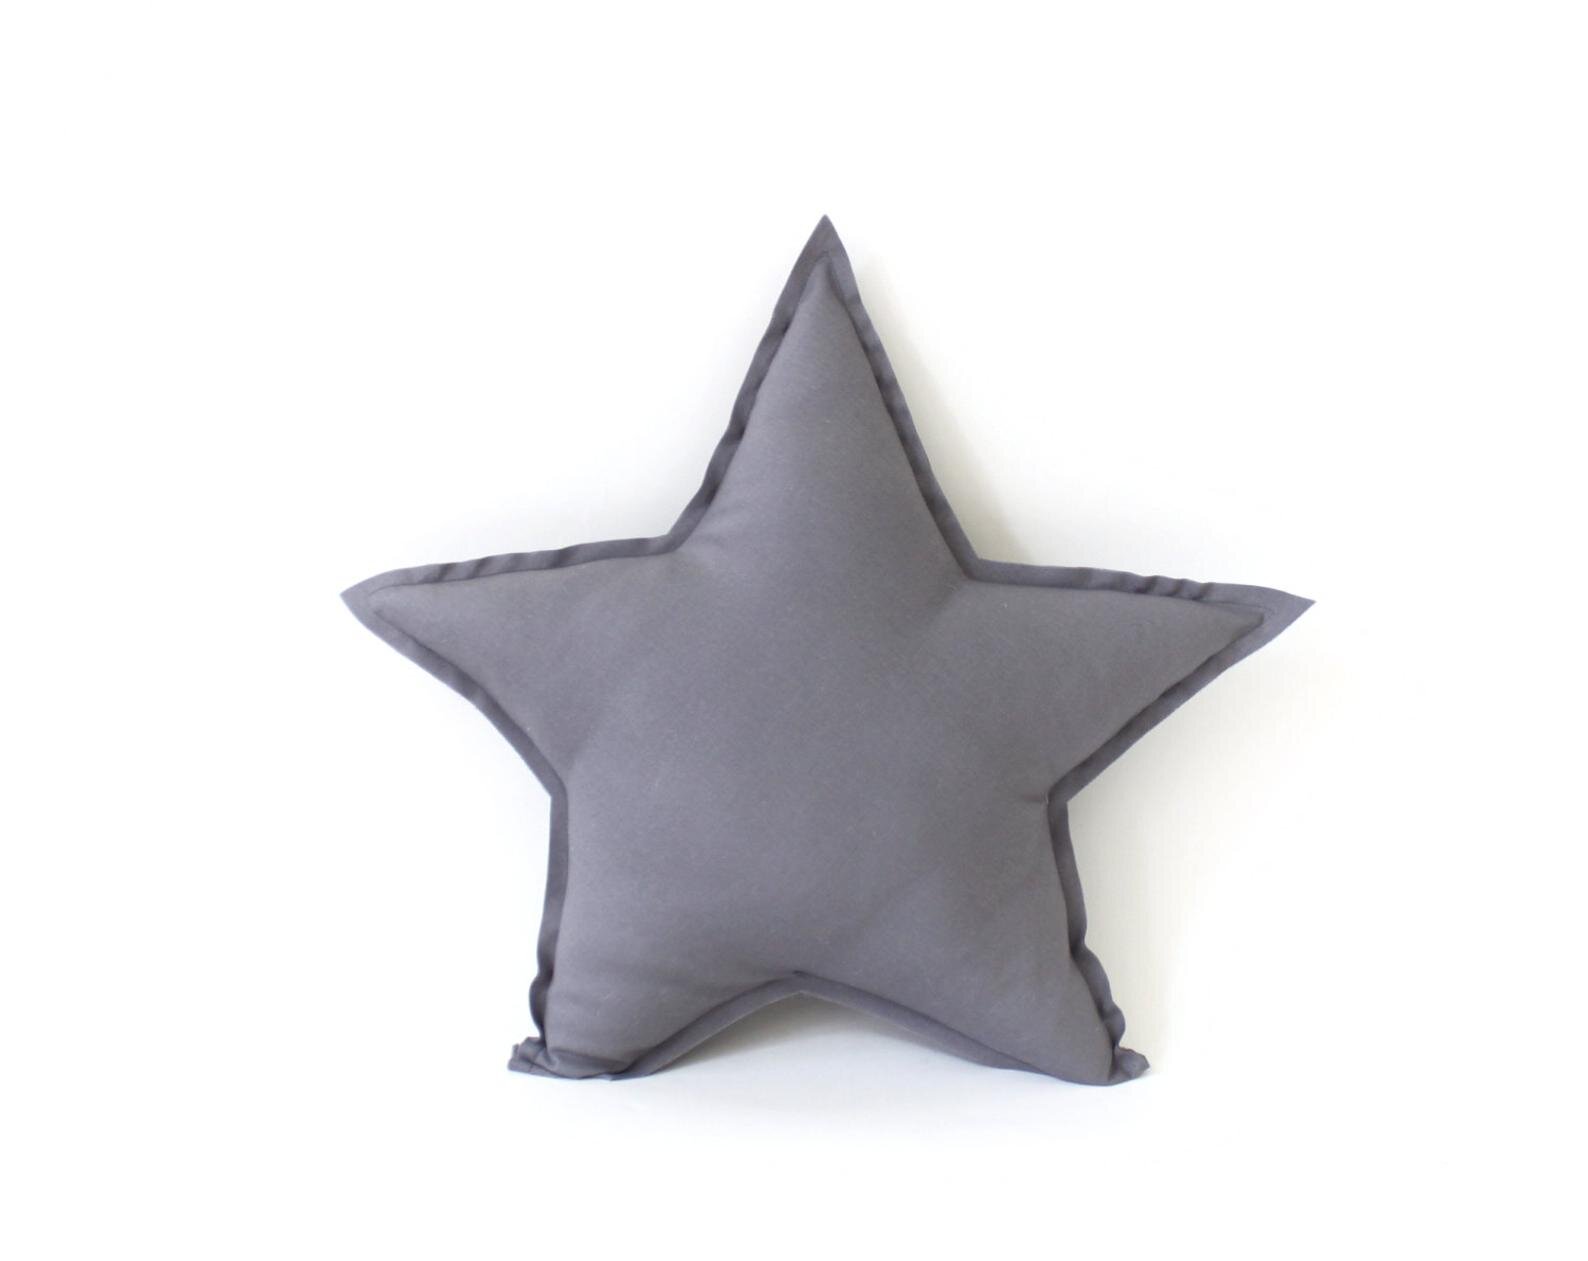
From the hallway, you have this view of the room and I think it’s one of my favourite views! I love catching glimpses of Xavier sitting at his desk or reading a book on his giant floor pillow from Natti Natti which is handmade in Brooklyn, New York.

neutral kids room with house shaped chalkboard and bunk bed

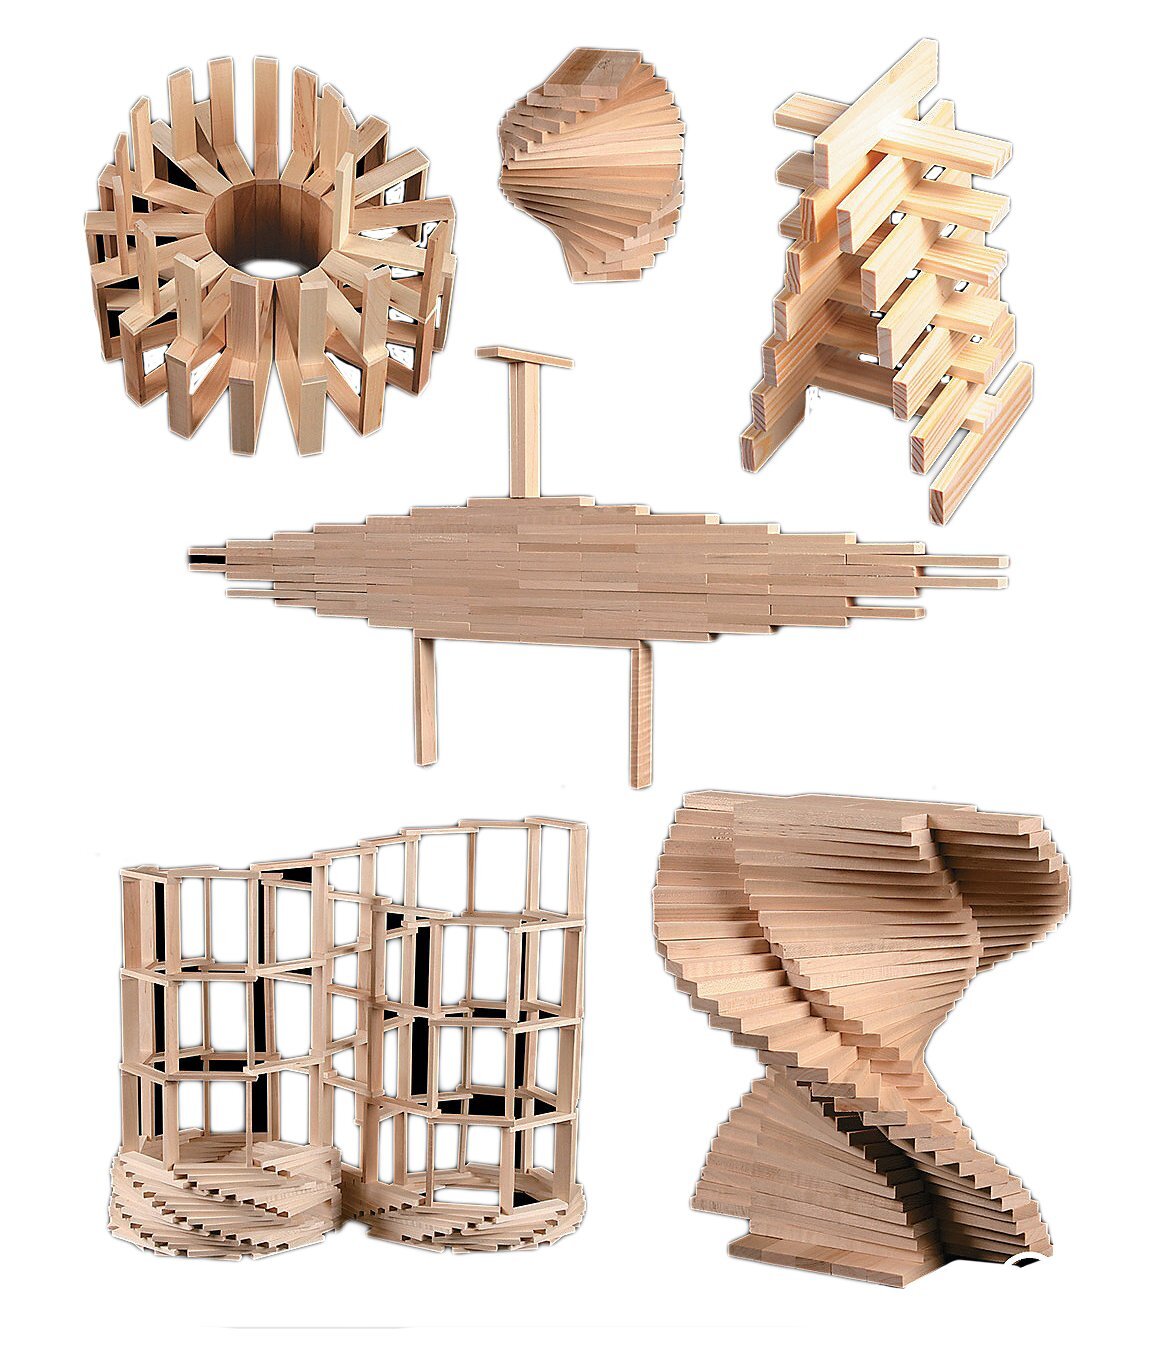
The gorgeous bed linens are 100% linen and from new Canadian brand Dreams Jumper. You can also spot our favourite Cuddle and Kind dolls and Keva building planks.

SHOP THE LOOK…

book wall and bunk bed in boy room
close up of the bedlinen and wallpaper with Cuddle + Kind softie

Although this home is an interim rental for our family, I hope the memories that we make in here will last forever.

*Thank you to many of the brands listed in this post for their collaboration in this project.

YOU MIGHT LIKE THESE POSTS TOO…

THE DEFINITIVE GUIDE TO DRESSERS FOR KIDS

Today we’re talking dressers; the one piece of storage that you buy once and keep from baby room to first apartment and beyond. Important, right?! While other pieces of furniture come and go, the right dresser will literally last a lifetime!

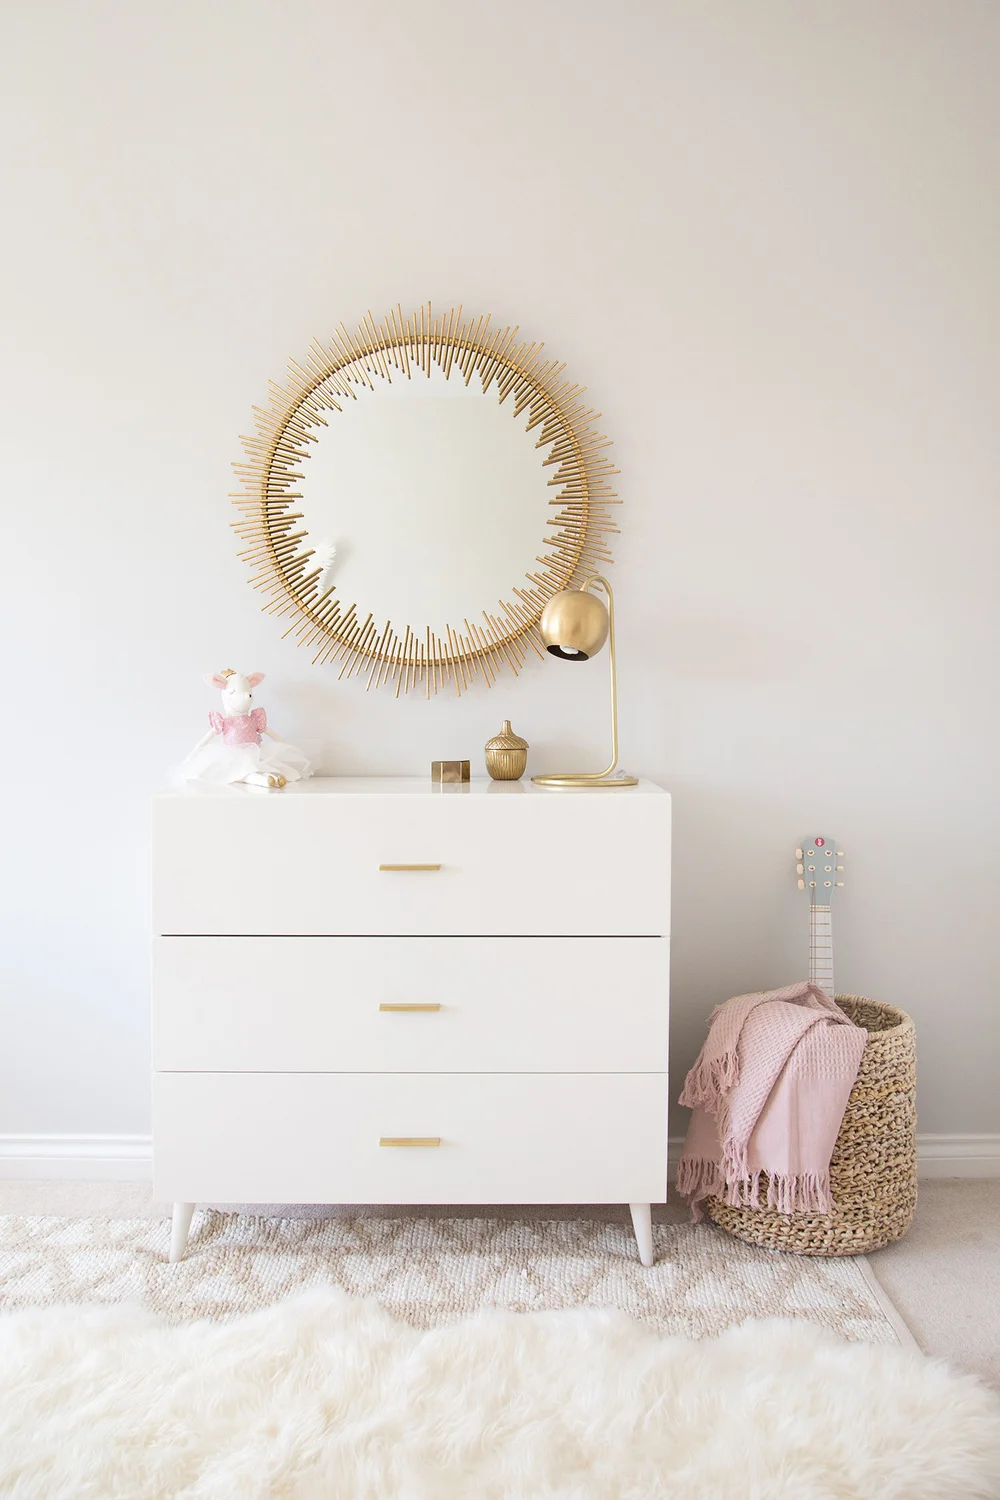
Ella's mid century modern white dresser with gold statement mirror

From Ella's Room

Consider the following tips to help assess which dresser best fits the need for your child’s room.

TIP #1: SIZE AND SCALE

How much space do you have to work with?  Too small of a dresser can leave a room looking empty and sparse, and too large can make the room feel cluttered and small.

A pro tip is to use painter’s tape and measure the dresser base size on the floor, and height against the wall to visualize how the piece will fit into the room. A good rule of thumb is to leave at least 40 cms on either side of the dresser to allow for a diaper pail or storage basket. The height of the dresser you choose can make a big difference if you’re starting off by using it as a change table. Choose one that is comfortable to stand up beside so you won’t need to bend down too far for diaper changes.

TIP #2: FUNCTIONALITY

Think about what purpose the dresser will serve and how much storage you will need.  In the early years, a dresser can begin as a change table by adding a simple change table topper.  The top drawer can hold lotions, wipes, diapers and washcloths. The middle drawer(s) can hold clothing, and the bottom is the perfect place for extra crib linens, swaddle blankets and even soft baby carriers.

Instead of going out to buy a whole new dresser when your baby no longer needs diapers, simply remove the change table topper and reorganize the top drawer with socks, under layers and pjs, and the bottom drawer as toy storage. It’s a nice spot to keep favourite play items that can be easily accessed by independent little hands.

TIP #3: MATERIAL

When you are choosing your dresser it’s a good idea to first research what type of material will work best for your space and budget. Learn about what material options are available to you. Here are the main ones, each with their own pros and cons:

Solid Wood:  It has the highest durability and will last many years. This comes usually at a higher price point. A dresser made of solid wood will be heaviest one to transport. Solid wood requires the least amount of chemical components for construction.

MDF (medium density fibreboard): Is less durable than solid wood, and usually in the mid-range price point. It’s lighter and easier to transport. MDF is created by compressing wood fibers with resin at high temperatures, which include more chemical components than solid wood.

Particle Board: Is similar durability to MDF, and is the lower price point option. It is lighter and easier to transport. Particle board is created by compressing sawdust and resin at high temperatures and includes more chemical components compared to solid wood.  

TIP #4: STYLE

Next, ask yourself - does the aesthetic of the dresser match the rest of your room? Will it visually fit in with other furniture pieces you already have? Often new parents purchase crib and change table sets together, so another important economical consideration is if the dresser can stand alone as a piece within a room. As your child matures and you remove a crib or purchase the next size bed, will the dresser still look appropriate for their age and room aesthetic?

There are three basic types of dressers and once you’ve taken in to consideration your room space and storage needs, choose your aesthetic and size. Whether it’s mid century, traditional, modern, or playful – you can select the combination that works best for your space and desired look:

The tall dresser will offer one row of 4+ drawers high. It’s good to look for a tall dresser if your room space is limited or if you don’t have a closet and need to maximize storage. Depending on the height of the dresser you may be limited in wall space for art, or hanging a mirror above this style.

The double wide dresser has a wider base with two rows of 3-4 drawers. This is a great way to maximize storage if you have a lot of square footage in the room and want a larger furniture piece to help fill space. As the double wide isn’t typically very tall it works well to hang art or a mirror above it when decorating.

The classic 3 drawer is a great option for a room with a closet or minimal storage requirements. It’s best suited for small to mid sized rooms as it can look smaller in large rooms with less furniture. It can also serve as a bedside table depending on the dimensions of the one you choose and works as a great piece to position under artwork or a beautiful mirror.

If you think about it, it’s pretty incredible that one piece can hold everything from diapers and wipes, to clothing, linens, toys, and secret journals. One of the most important things to be sure of when choosing your dresser, or any large piece of furniture for that matter, is that it is well made. Choose a dresser that is able hold piles of clothing and can withstand the wear and tear of childhood years, and many repeated pressures of clean laundry refills. Pull the drawers out and look at the sturdiness of the drawer base, and check if the hardware is well attached. If you’re shopping online make sure to read reviews from other parents to see if the piece is really as great as the description may suggest.

A dresser is a “home base”. It’s a place you will come to, time and time again as a parent to change a diaper, tuck away a toy, and fill up with fresh clean laundry. It will display a family photo, a favourite stuffed animal, or a treasure box of keepsakes your child has collected. A dresser is the one piece, which if chosen with thought and intention, will offer years of helpful storage and organization and bring aesthetic joy to your home.

the definitive guide to dressers for kids bedrooms

01. // Mid-century white; 02. // Eclectic white; 03. // Modern white; 04. // Streamlined white; 05. // Campaign white; 06. // Basic white; 07. // Trad white; 08. // Dwell white; 09. // Timeless white; 10. // Radiant Dresser; 11. // White trim; 12. // Classic natural; 13. // Lovely natural; 14. // Modern natural; 15. // Oak dresser; 16. // Trad natural; 17. // Sleek natural; 18. // Kalon dresser; 19. //Sleek black; 20. // Eclectic black; 21. // Basic black; 22. // Modern black; 23. // Mid-century black; 24. // Tall black; 25. // Happy black; 26. // Block black; 27. // Darkest black.


WIN A CUSTOM RUG {A GIVEAWAY WITH PACIFIC RUG GALLERY}!

Giveaway now closed - congratulations to @jillianaguitar for winning the rug!!!

Well friends…I have a very special giveaway for you today:)

Enter to win a custom rug from Pacific Rug Gallery made from your child’s artwork!!!

Melissa rug giveaway

HERE ARE THE DETAILS:

To enter, head to my Instagram account, follow both @winterdaisykids and @pacific gallery, tag a friend and tell us what room you’d use your new rug in.

One winner (anywhere in North America!) will be chosen to win a free 3’ x 5’ rug made from your child’s artwork! If you have a treasured piece of art that your little one has made, this is the perfect opportunity to turn it into a rug that will last a lifetime.

These pictures show how a simple drawing was turned into a beautiful rug. What a perfect gift for Mother’s Day.

Custom rug made from child’s artwork

Giveaway open until April 20th, 2019 PST. Winner will be announced on this post and in Instagram stories. Good luck friends!

HOW TO STYLE YOUR KIDS' SHELVES IN 4 EASY STEPS!

If you’ve been blessed with becoming a parent, surely you are realizing that all of the toys, books, photos, stuffed animals (aka stuff) needs to be stored somewhere. It is likely that a bookshelf of some sort has made its’ way into your child’s room and if not, now is the perfect time to get one!

kids room shelves

Pretty (and functional!) shelves aren’t as simple as they look but with careful thought, everyone can turn a mediocre bookshelf into something you will proud to see and use everyday. We love this plain white bookshelf that goes from floor to ceiling.

kidsroom shelves

SHOP THE LOOK…

Styling kids shelves starts with the most obvious step of all, but one that so many people often overlook.

STEP 1: CLEAR YOUR SHELVES

If you want to tackle the job of styling your shelves properly, start by taking everything off and giving them a good dust / clean. By starting with a clean blank slate, you will already be on your way to successful shelf styling!

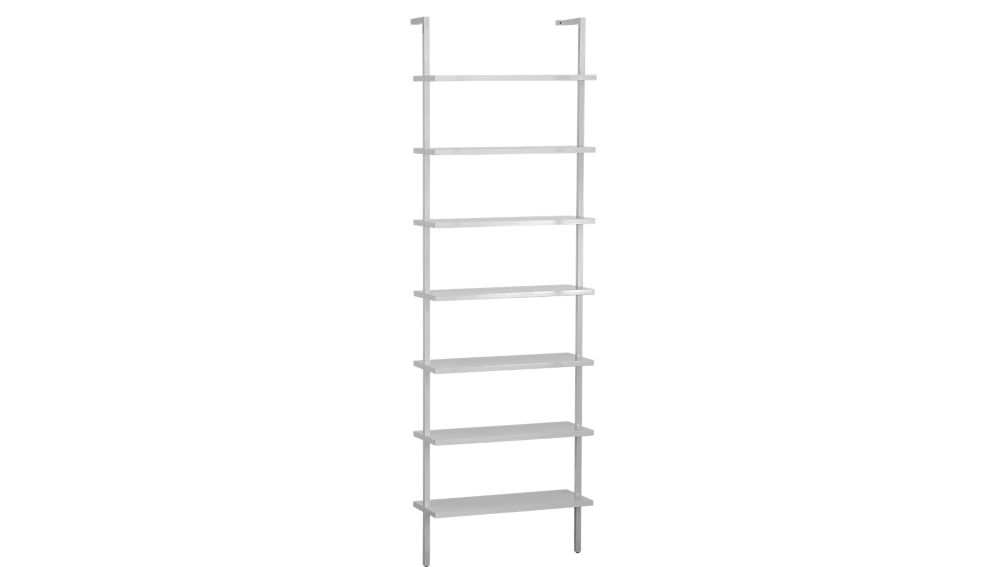
empty CB2 stairway shelves - this is step 1

STEP 2: ADD BOOKS

Now that your shelves are clear, take this chance to go through the books and donate any that your children have finished with. This may sound like a no-brainer, but trust me on this one! Kids interests change quickly and you will surely find at least a few that are no longer needed.

Once you have all the books that are going back on the shelf, break them up into sections, such as board books on one shelf or chapter book series grouped together. IF you are super particular with the way the shelves LOOK, you can also get as choosy as same size books or same colour spines together. You can also use special books, photos or actual art pieces and lean them against the back of the shelf or wall. By doing this, it adds an extra layer of depth making shelves appear deeper.

In the photo below, there are 57 books! If you have many more than this, fill up every second shelf leaving the bottom shelf empty for baskets or bins.

cb2 stairway bookshelf with books - this is step 2

STEP 3: ADD STORAGE BASKETS AND SMALL CONTAINERS

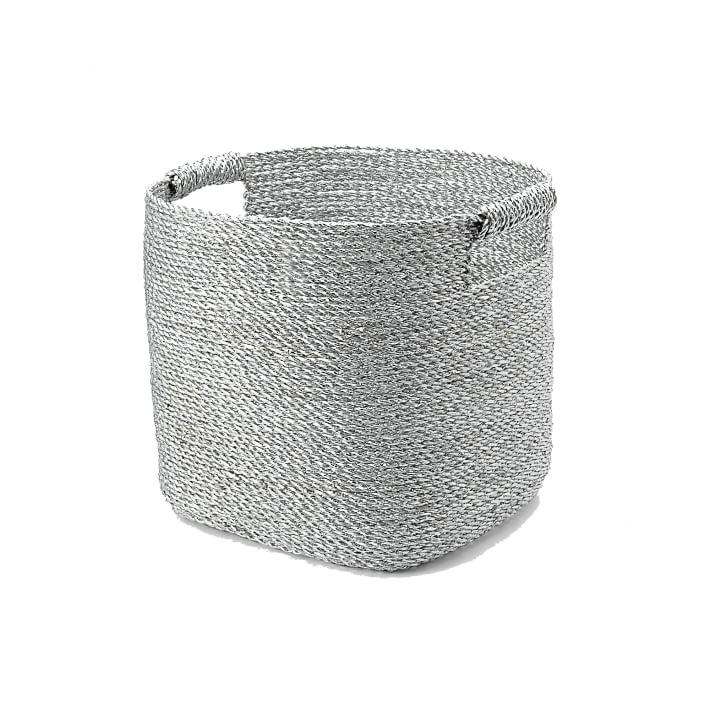
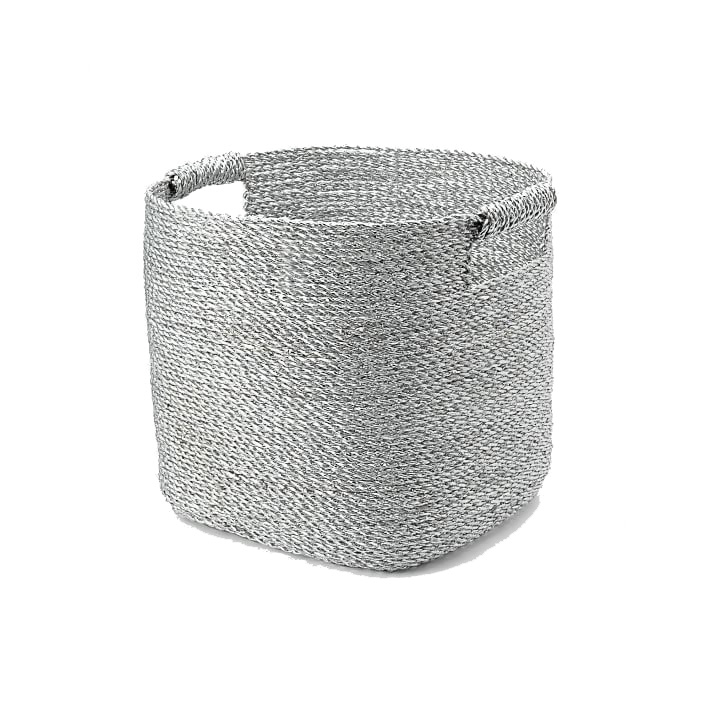
Start with your biggest storage baskets or bins on the bottom shelf. We used metallic baskets for everyday items that get left on the floor. It keeps the floor tidy and the kids know where to find items that they have left around the house. As kids get older, I find the toys get smaller! This means that there are lots of little ‘treasures’ and it’s handy to have little boxes in their rooms for these items.

cb2 stairway white shelf with books and baskets - this is step 3

STEP 4: ADD ACCESSORIES (AKA THE FUN PART!)

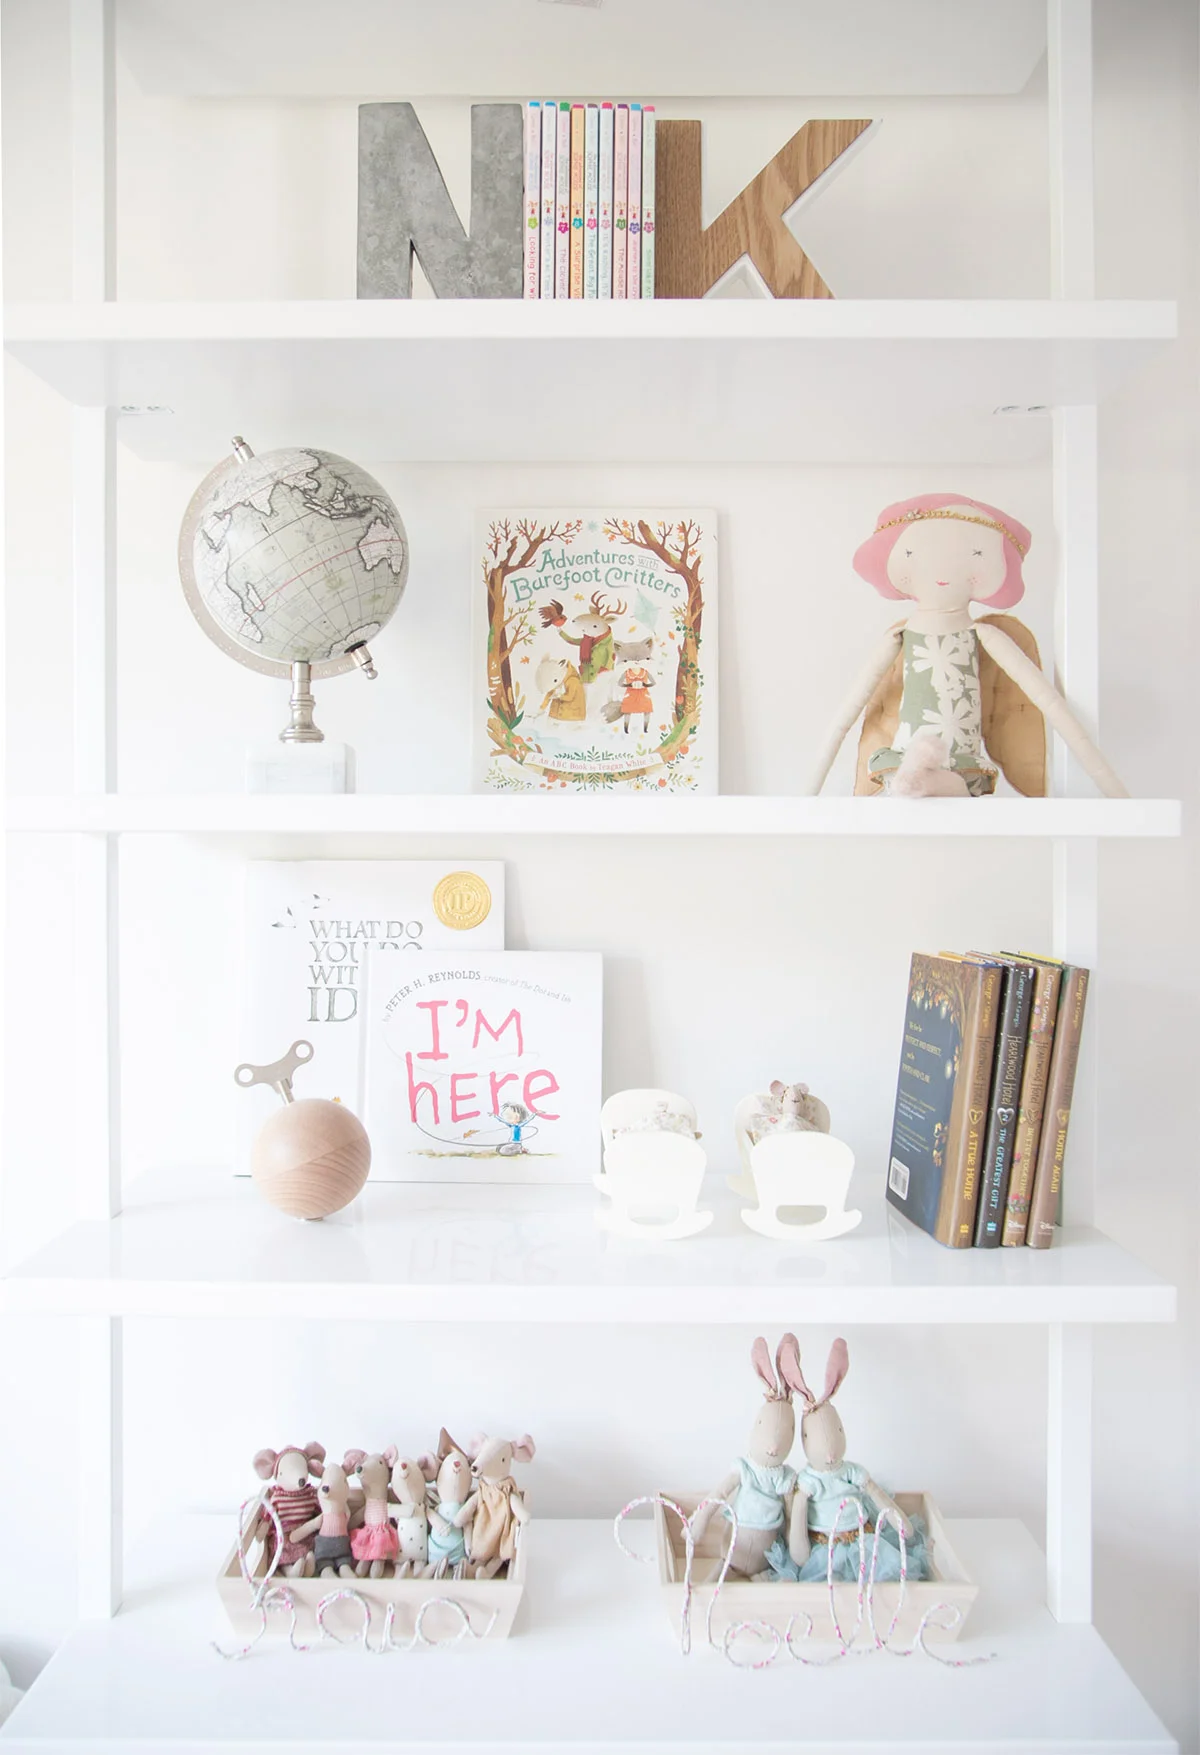
This is where the true fun comes in! Keep in mind that empty or white space is just as important as the items you place on the shelves. Here’s your chance to add little vases, candles, wooden toys for younger kids, or in my twins’ case, the Maileg collection that has grown over the years. These are perfect for adding to the shelves along with their mini globe (similar), daily calendar, and letter bookends. If you aren’t sure where to place things, just try it and then stand back and see what you think. Try to add smaller items next to larger and mix it up between placing things right in the centre or 1/3 of the way in on either side.

girls room styled bookshelves
Sophie Mouse series with letter bookends
kids book collection
girls shelves

If you have any questions about how to style a functional and pretty shelves for your kids, ask away in the comments below and if you redo the shelves at home, I’d love to see!

SHOP THIS POST…

FRIDAY INSPIRATION: UNIQUE PLAY NOOKS

It’s Friday and that means we can all breathe a little easier knowing that the weekend is just around the corner. While it means full on kid mode for most of us, it’s also a time that our little ones play in the environment that they usually feel most comfortable; home.

Sometimes, by creating special little nooks or finding a new area to play helps while away the hours a little more easily. These unique spots to add toys either come about for function (there is no other space in the house!) or just for magical fun…either way, here are some of my favourite unique kids nooks that create the dreamiest environments for children’s play.

A Secret Room:

Yes, really! This dreamy little play nook WITH A SKYLIGHT is located behind a bookcase and houses one of the cutest play kitchens of all time.

Source: Emily Henderson

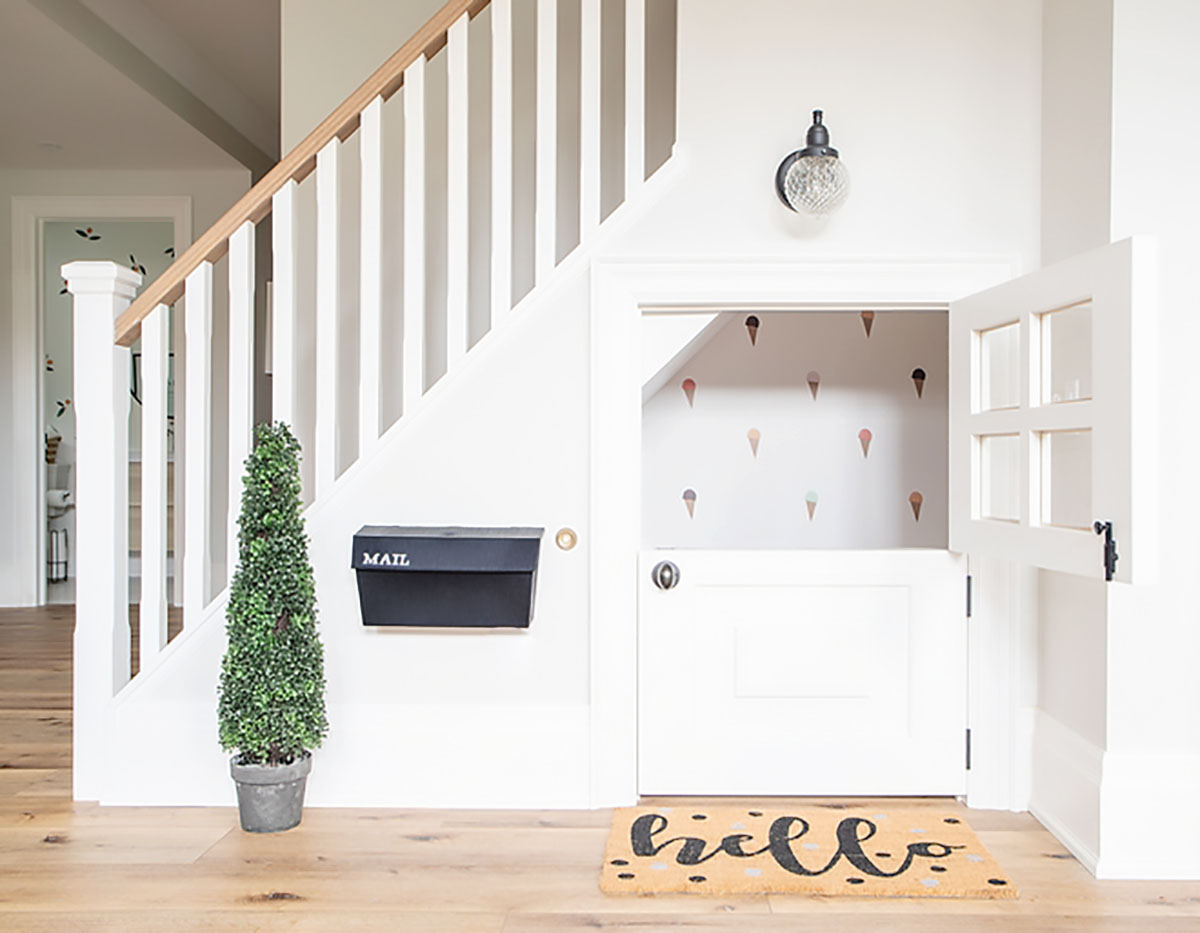
Playspace Under the Stairs:

It’s really such a great use of space! Add a few of these ice cream decals, and you have a playroom for the littles.

Under stair children’s playhouse

Source: Pinterest

Secret kids playroom under stairs

Source: Von Fitz Design

Attic Playspace

Adding skylights to an attic opens the whole space up to so many possibilities. This play area is the perfect place to whittle away house while the sun shines in.

A light-filled attic children’s playroom

Source: Pinterest